Google Sheets OKR Template

Lasse Ravn
Last updated on December 28th, 2024
Google Sheets is a great tool for many things. Managing your OKRs is one of them. Here I’ll show you the template you can use to manage and run your OKRs.

Why you should consider using a spreadsheet for your OKRs
There are plenty of high-quality software solutions out there that you can use to track OKRs. But often you don’t need those, and they can even ruin your OKR efforts.
As Christina Wodtke describes in her webinar “How to Turn Bad OKRs into Good ones”, the danger of adopting a tool is that you’re limiting yourself to what the tool can do.
That’s why we love using spreadsheets. See something you like? Great, use it. See something you don’t? Fine, just remove or adapt the spreadsheet!
Google Sheets OKR template
We highly encourage you to read at least the step-by-step guide on how to use the OKR template in Google Sheets.
But if you’re in a hurry and feel like you’ve got this, then feel free to scroll to the bottom of this page to grab a copy of the template.
Step-by-step guide to using the Google Sheets OKR template
The OKR template is made up of different tabs inside the sheet and I’ll briefly describe each of them:
Periods
Teams
Team members
Objectives
Key Results
Initiatives/inputs
Tab 1: OKR periods
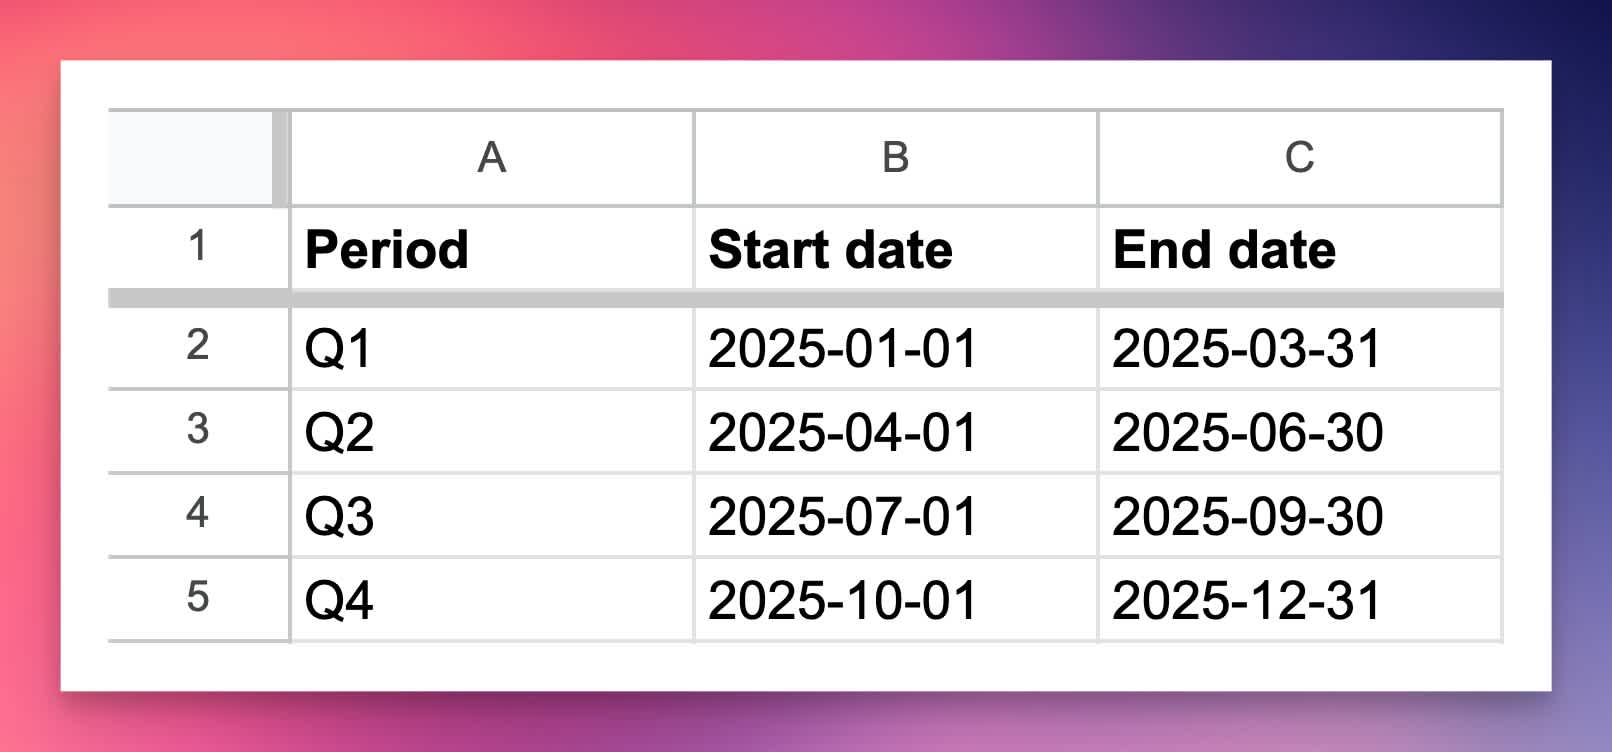
In the first tab of the template sheet, you’ll see what we call “Periods”. This is basically just the different intervals of how you’re running your OKRs.
The default setup is using quarters, meaning that new objectives are defined each quarter. If you’re normally running OKRs on a half-year or two-month basis, then feel free to adapt it as you wish.

Tab 2: OKR teams
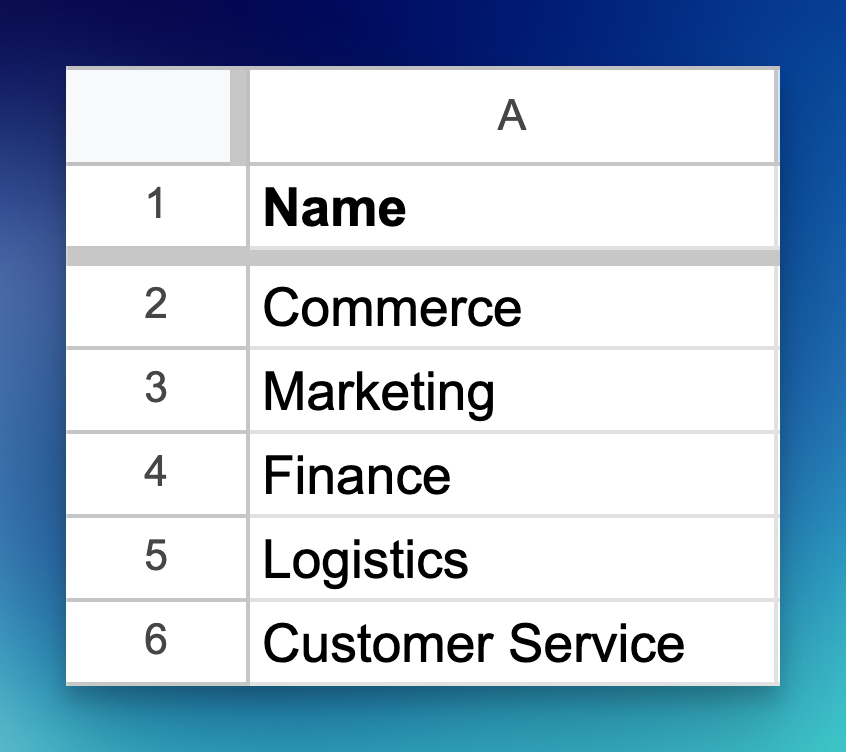
The next tab is all about your team setup. In this tab, you’ll simply define each of the teams working with OKRs inside your company. We’ll use these values later on when assigning specific OKRs to teams and team leads.

Tab 3: Creating team members & defining team leads
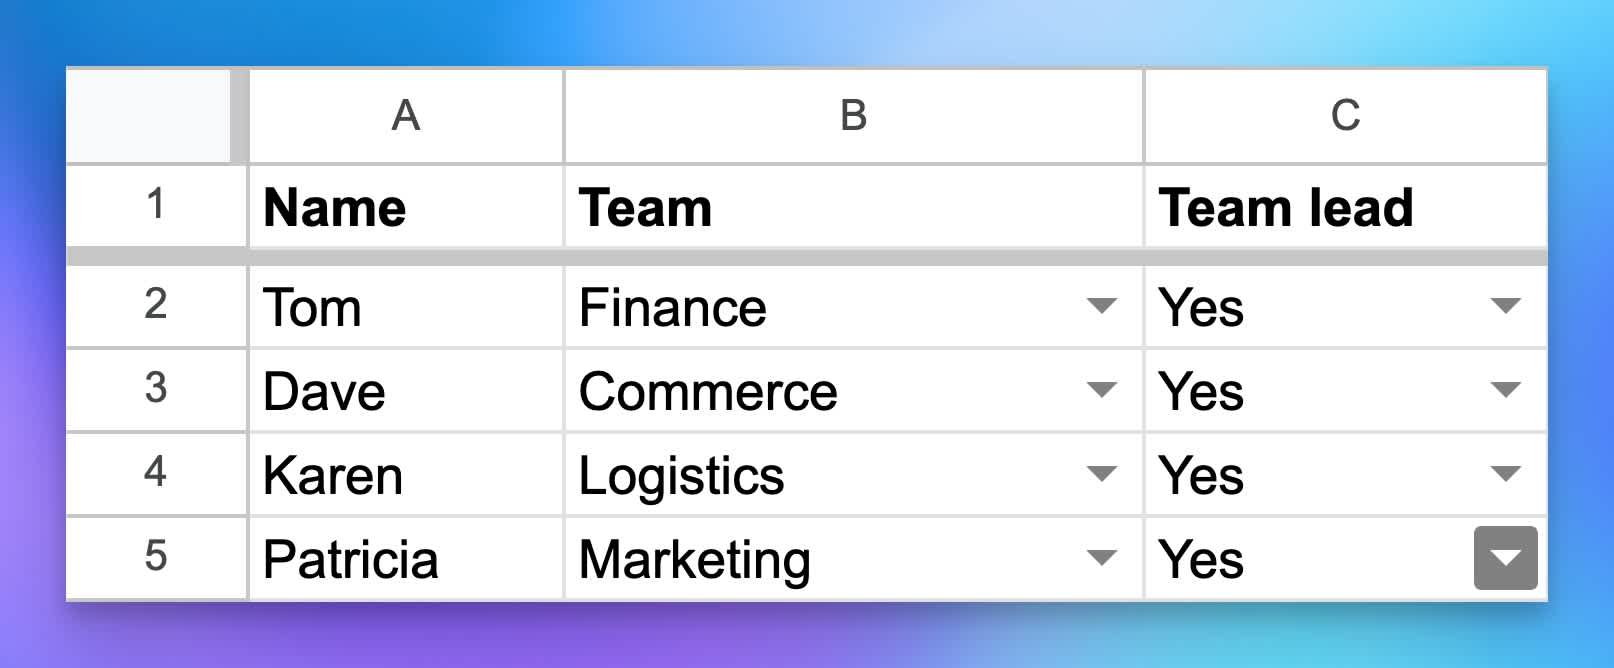
In the next tab, you’ll define each member of the different teams as well as defining who’s the lead of that team. The lead is ultimately the one accountable (not responsible) for achieving the objectives and key results.

To improve accountability, it’s generally a good idea to delegate the different objectives or key results from the beginning, so everyone knows what their responsibility is.
Tab 4: Writing your OKR objectives
The next tab is where the fun (or hard work, if you wish) begins. This is where you define your OKRs, assign them to a specific team, and decide which period they belong to.
If you don’t have a lot of experience defining your objectives, we recommend that you read this post on “Good vs. Bad OKR examples” to ensure you don’t start on the wrong foot.

After you’ve defined your objectives, it's time to start figuring out how you measure if you’re achieving them or not.
Tab 5: Setting the key results
The key results are arguably one of the most important parts of a successful OKR. These are the ones that enable you to measure progress and ensure that you’re on the right path.
This is also the part that most people and organizations get wrong. The biggest mistake we see is that people simply formulate key results as an output. If you want to make sure you’re getting started right, read this post about the important things you need to know about key results.

In this tab, you’ll also update the progress of the key results. As you can read in the post we linked above, the tracking cadence is up to you. If you’re making progress each week, then update the key results each week.
But if you’re only seeing significant changes each month, then don’t spend time updating them each week. Spend the time on the next tab instead; defining the initiatives that drive your key results.
Tab 6: Initiatives/inputs/tasks
The next tab is what we predict you’ll use the most. This is where you define the initiatives (some use “inputs” or “tasks”) that you’ll do to push your key results forward.
This tab contains all the bets you’re making when trying to achieve your key results. The important aspects of initiatives are that they’re:
Well defined
Time constrained
Measurable
Achievable

In short, don’t write initiatives that you only think you’ll get done. This tab is not where we guess - this is where we commit to the work we’ll get done within the short term. Weekly initiatives normally work best, depending on how often you do status meetings, etc.
Tab 7: Posting key result progress updates
The 7th tab is the one where team or function leads go in and post regular updates. The cadence is up to you, but I prefer to do this on a cadence that matches how often the metric we track moves. If it's a weekly average, then update it every week. If it's something you can check daily, then update it daily.

Tab 8: The overview tab
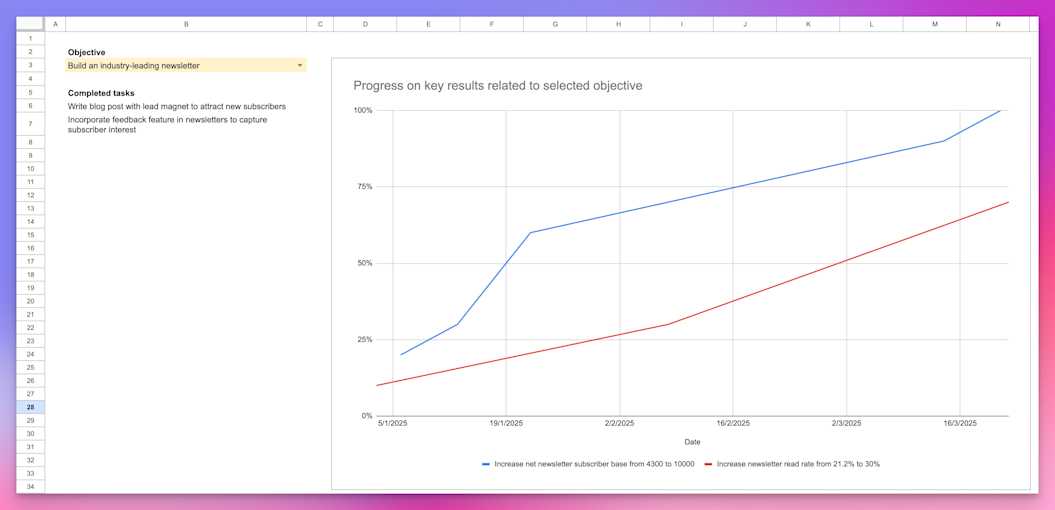
The final tab is the one you can use to easily get an overview of progress for different objectives. Simply select an objective and you'll get a visualization of the completed tasks as well as the tracked progress for the key results connected to that objective.
This is an easy way to quickly see if things are progressing as needed, or if there's a need to follow up with the responsible team or function.
